How To Draw A Coat
How To Draw A Coat - These lines will form the lapels of the trench coat. This cause less folds to appear. Draw all the details of the clothing with its folds and curves. Join the triangles to form the tie. Please like comment subscribe to my channel to see more interesting videos ! Web next, draw the pockets on the coat. Draw three small circles vertically aligned along the right side of the coat’s opening. Add the lapel and collar. Web in the digital realm, drawing a coat directly on the computer is a streamlined process that results in a detailed design, ready for sharing on a technical sheet. You can draw a coat with two or four buttons or even two rows of buttons. This cause less folds to appear. Web leather / synthetic leather. This can very from one jacket to another, but it can be used as a general rule. Draw all the details of the clothing with its folds and curves. Draw a curved line between the two sides to indicate the bottom of the jacket's back side. Web how to draw a coat easy step by step for beginners. Also, this material is usually shiny. Draw a large oval around the neck and slightly above the chest. Fisrt, draw the line at the arms and knees. Then, enclose a rounded rectangle shape at the bottom to form the cuff. Next, draw the suit's sleeves, the back, and finally, the buttons. Connect the ends of the lapels with a curved line, creating the collar. At the bottom of the oval, add a rectangular shape with fringe for the end of the scarf. At the top of the coat’s torso, draw a curved line on each side, starting from the center. Fisrt, draw the line at the arms and knees. The number of buttons may vary. Make sure the pockets are the same size and shape. Then, enclose a rounded rectangle shape at the bottom to form the cuff. These lines will form the lapels of the trench coat. Draw three small circles vertically aligned along the right side of the coat’s opening. Make sure the pockets are the same size and shape. Draw a circle close to the neck. Second, connect the line from the arm, knees, and side, leave the neck open, shape the neckline to a y shape down to the knees. Draw two rectangular shapes. Draw another triangle at the centre of the waistline for the tip of the tie. Draw the rain slicker's sleeve. On each side of the coat, draw a flat, inverted pentagon to indicate the flaps above the pockets. Around your shield, draw accessories, like plants or animals, and draw a helmet in the center on top of the shield. The. At the top of the coat’s torso, draw a curved line on each side, starting from the center guideline and extending outward. The number of buttons may vary. Please like comment subscribe to my channel to see more interesting videos ! Draw the buttons on the coat by drawing small circles down the center of the coat. Add the lapel. Web drop down a vertical straight line for the button line of the shirt. Draw two rectangular shapes on either side of the coat at hip height. Draw three small circles vertically aligned along the right side of the coat’s opening. Connect the ends of the lapels with a curved line, creating the collar. Web leather / synthetic leather. The buttons should be evenly spaced and proportional to the coat’s size. Web in this video i show how to draw three different winter coats. Below the shield, draw a banner with your motto inside. Second, connect the line from the arm, knees, and side, leave the neck open, shape the neckline to a y shape down to the knees.. Now that you have a collar, it’s time to draw in the buttons that will attach. The buttons should be evenly spaced and proportional to the coat’s size. This can very from one jacket to another, but it can be used as a general rule. Web leather / synthetic leather. Around your shield, draw accessories, like plants or animals, and. Web leather / synthetic leather. Now that you have a collar, it’s time to draw in the buttons that will attach. Web learn how to draw a jacket in this simple, step by step drawing tutorial. Whether you’re a beginner or an experienced artist, understanding the fundamental techniques and using the right drawing materials can make a significant difference in. Add a bunch of short and long curved lines between the circle and oval. Make sure the pockets are the same size and shape. Web learn how to draw coat, step by step video drawing tutorials for kids and adults. You can choose one of the tutorials below or send us a request of your favorite character and we'll do. Draw all the details of the clothing with its folds and curves. Connect the ends of the lapels with a curved line, creating the collar. Draw a circle close to the neck. Fisrt, draw the line at the arms and knees. Draw a curved line between the two sides to indicate the bottom of the jacket's back side. Next, draw the suit's sleeves, the back, and finally, the buttons. Finally, draw in the other side of the collar, then fill it in with whatever color you like. Now that you have a collar, it’s time to draw in the buttons that will attach. Web drop down a vertical straight line for the button line of the shirt. Draw three small circles vertically aligned along the right side of the coat’s opening. This not only simplifies but also enhances the production process within the fashion industry. Web from there, draw a curved line going down to meet the bottom of the coat’s neckline. Draw the rain slicker's sleeve. At the bottom of the oval, add a rectangular shape with fringe for the end of the scarf. Join the triangles to form the tie. Below the shield, draw a banner with your motto inside.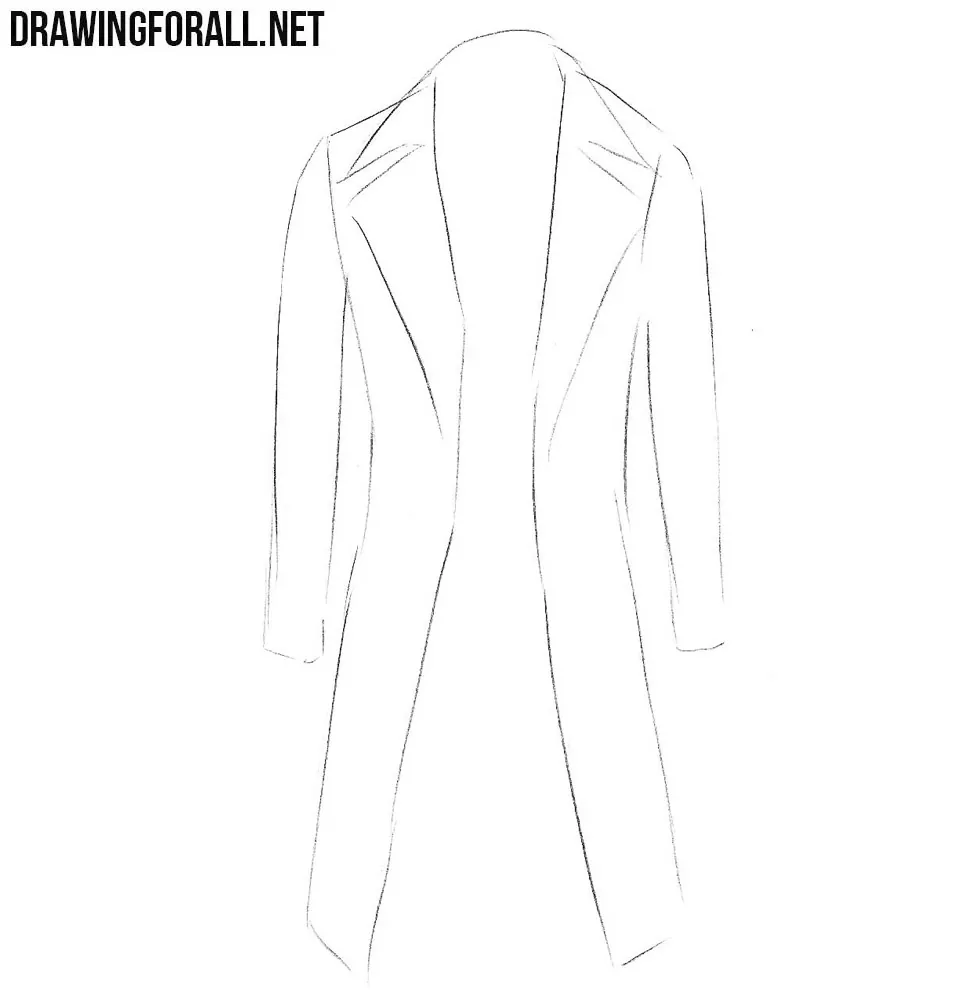
How to Draw a Coat
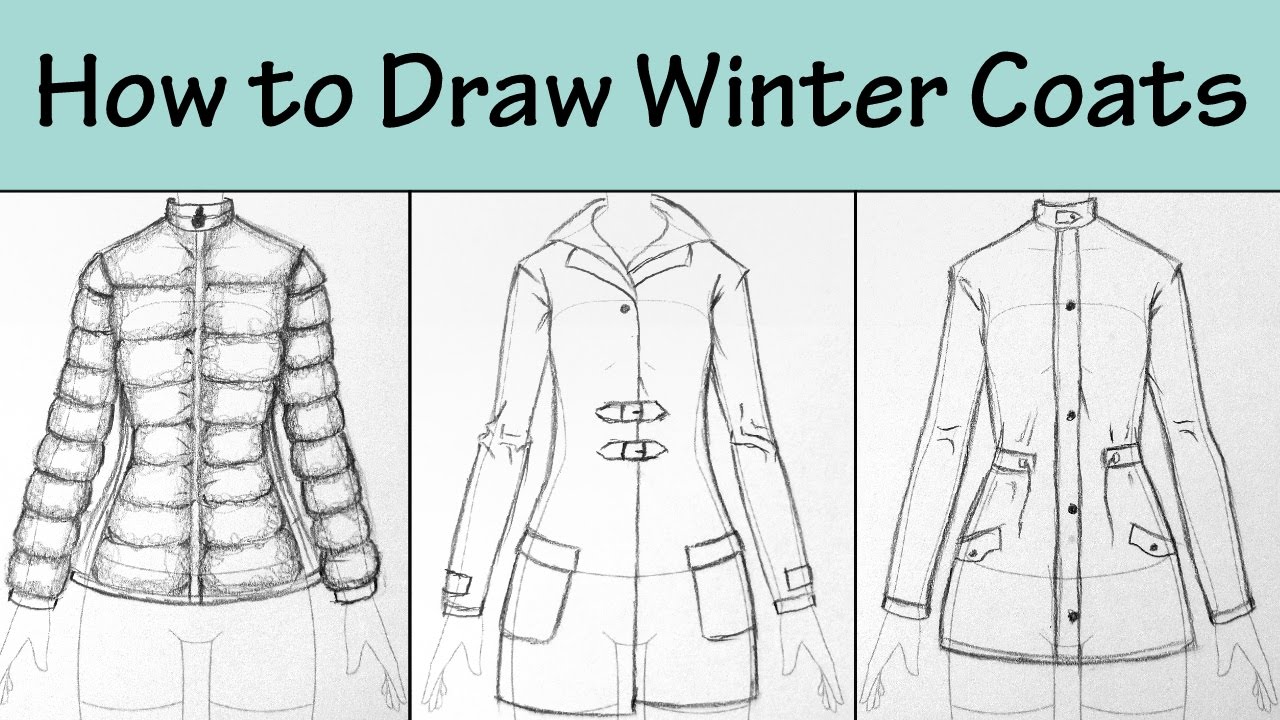
How to Draw Winter Coats 3 Ways. YouTube
How to Draw a Coat Step by Step

How To Draw A Coat Step By Step A Coat Easy Line Drawings For

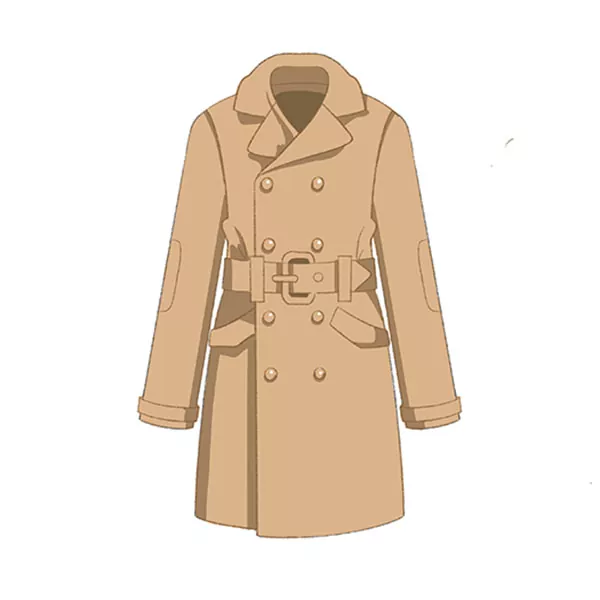
How to Draw an Anime Coat Easy Step by Step Tutorial
All Drawing Tutorials Easy Drawing Art
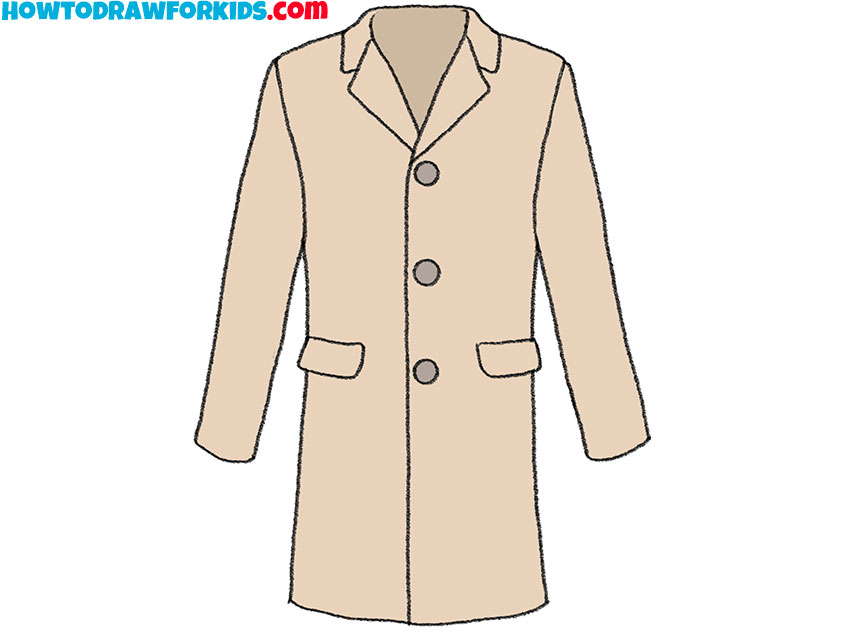
How to Draw a Coat Easy Drawing Tutorial For Kids
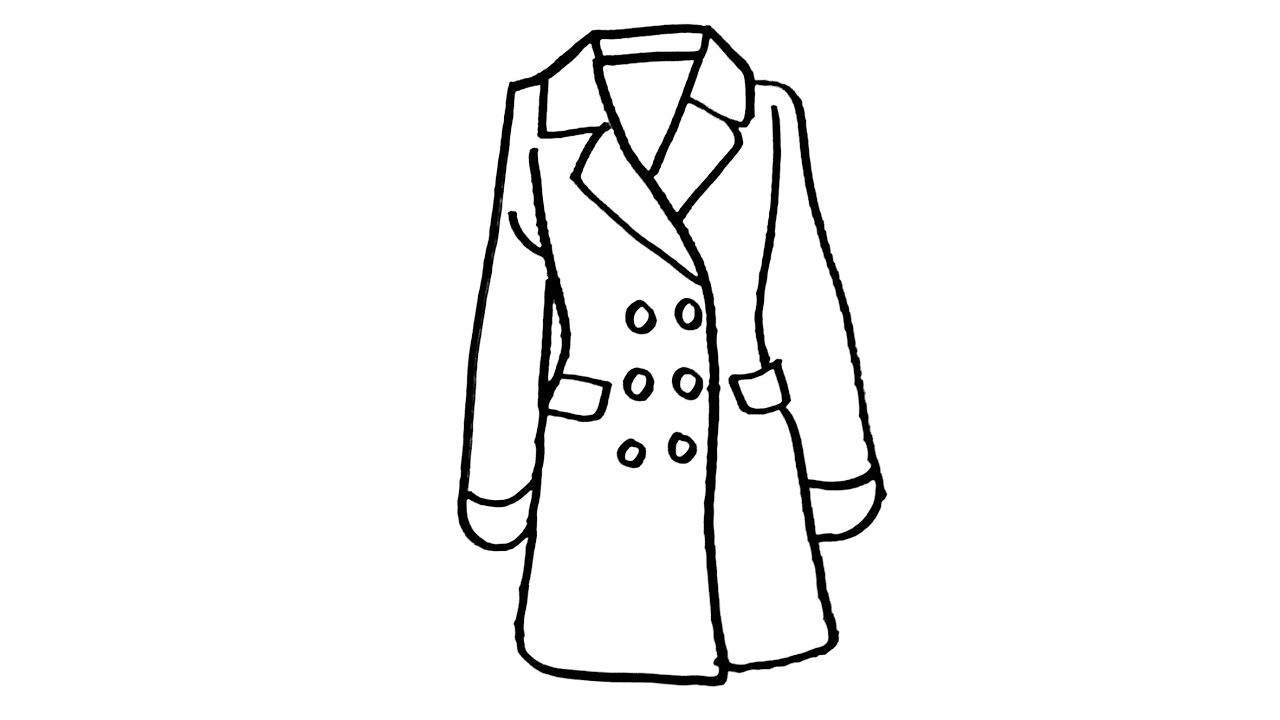
How to draw a Coat step by step YouTube
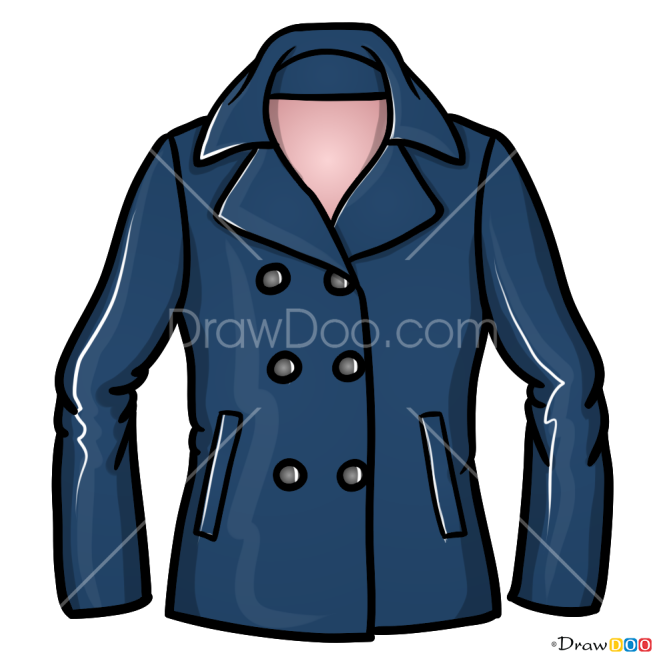
How to Draw Coat, Clothes

Winter Coat Drawing (easy) HelloArtsy
Draw Another Triangle At The Centre Of The Waistline For The Tip Of The Tie.
Web Illustrate The Buttons Of The Coat.
Web Leather / Synthetic Leather.
At The Top Of The Coat’s Torso, Draw A Curved Line On Each Side, Starting From The Center Guideline And Extending Outward.
Related Post: